Print Templates
Templates and setup guides for our most popular sized print products.
Setup Guides
Templates to set up your print files correctly.
Business Cards
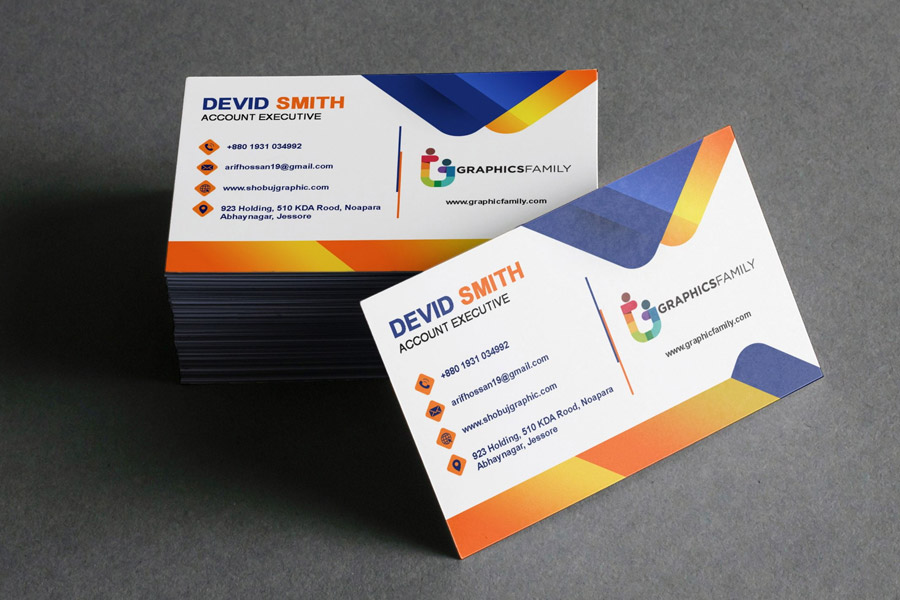
Door Hangers

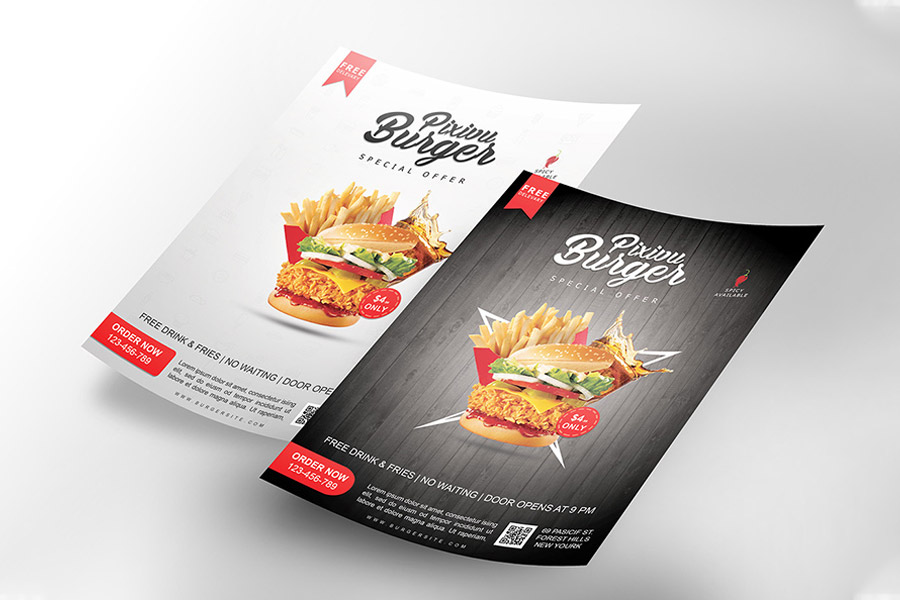
Flyers / Postcards
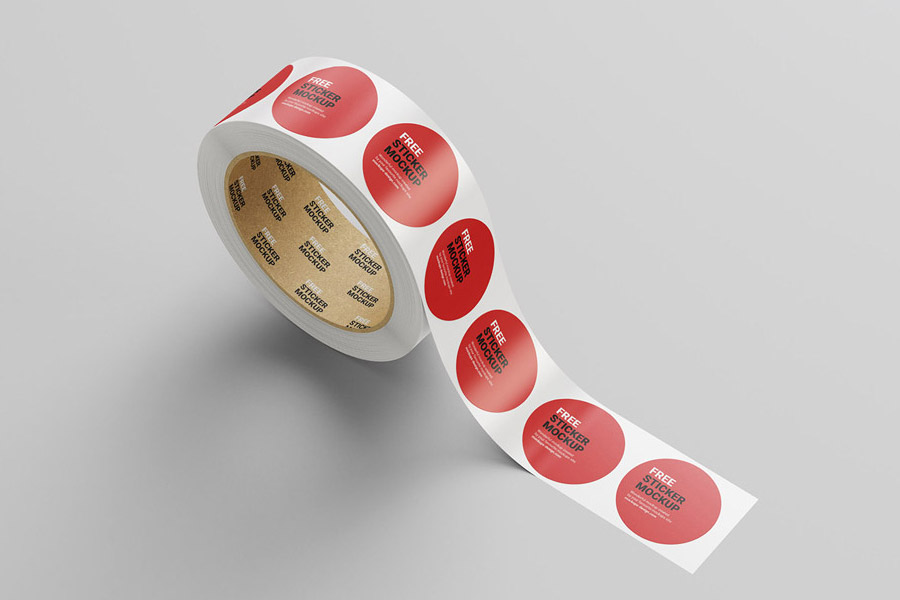
Labels / Stickers
Review Stands / NFC Tap

Yard Signs

File Preparation
How to prepare your print files properly.
Step 1
Step 2
Step 3
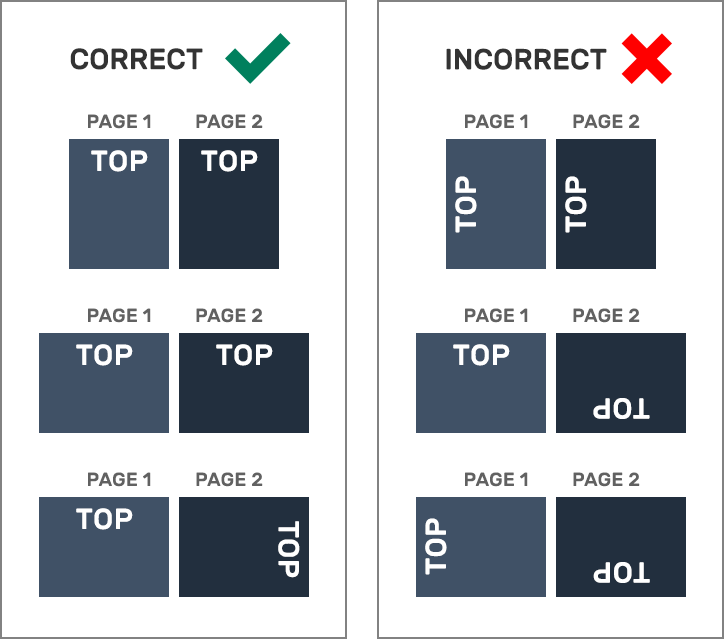
File Orientation Guide
How to set up proper orientation of your print files.
File Setup
Learn how to set up your files correctly.
General Preparation Guidelines
- Download our guides or contact us with your questions to ensure the most optimal print result.
- Be sure to DELETE any hidden layers that are not intended to print (example: setup guide layers or other hidden artwork layers) to ensure no risk of them appearing on the final print.
- Each job (including multiple paged projects) must be submitted as a single PDF file. Ensure that all pages are the same size.
- Files must be submitted with proper orientation to ensure proper back up. Please review the File Orientation Guides carefully.
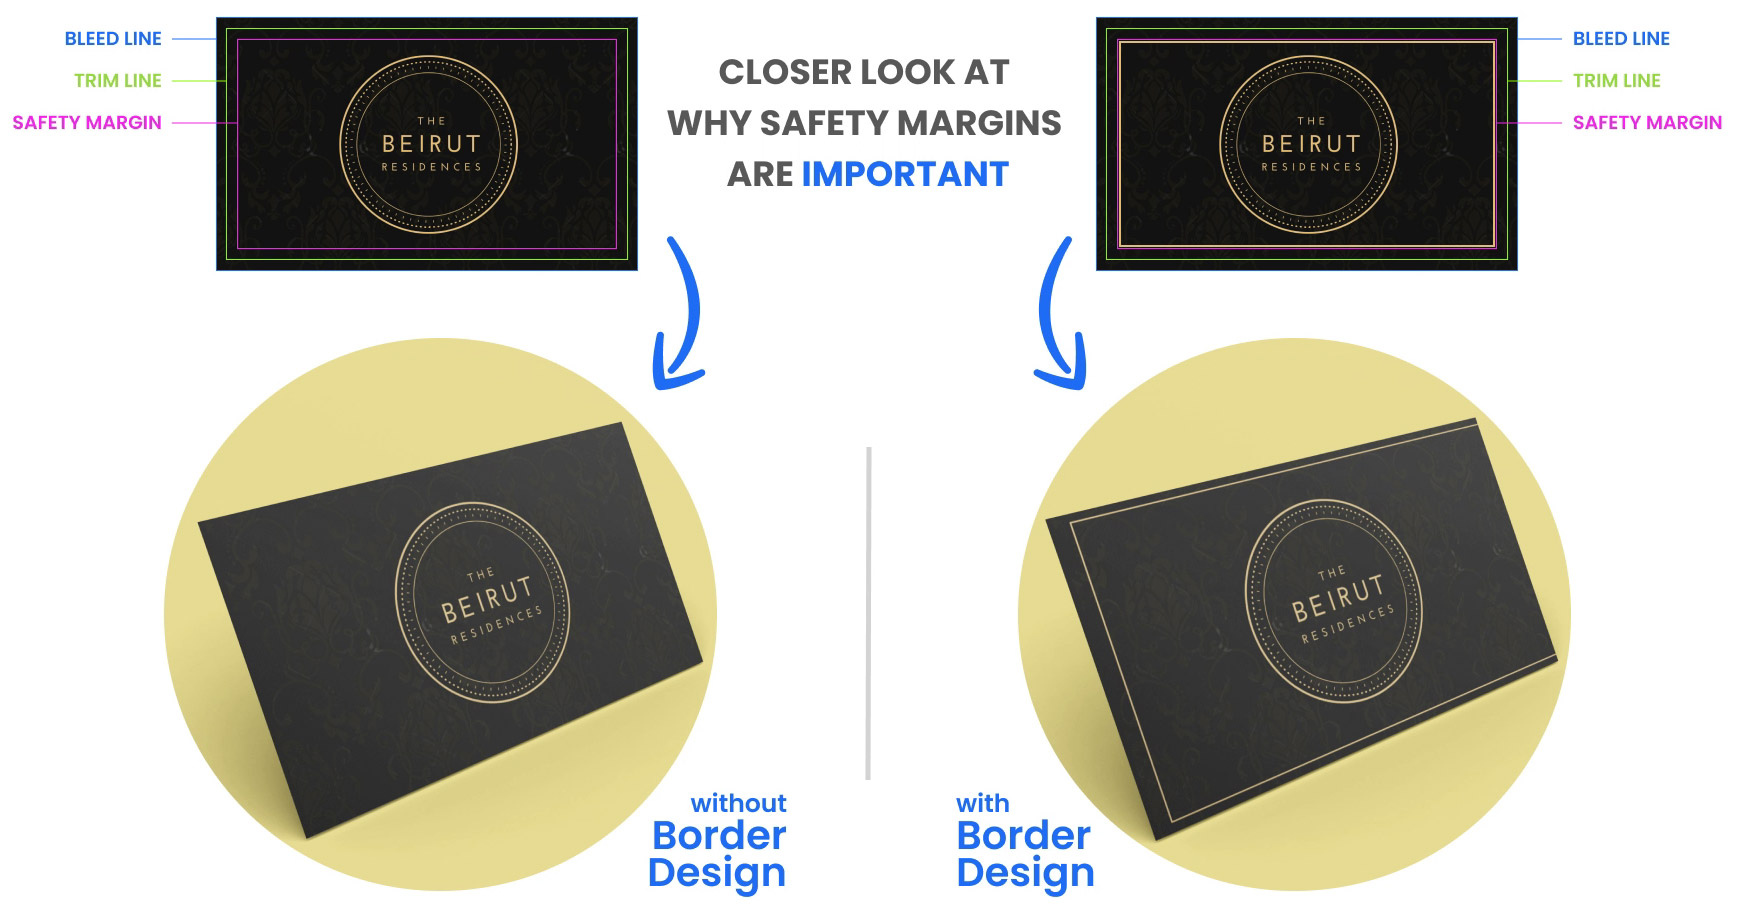
- It is best to try to avoid using borders in your design. If a border is too close to the trim, the trim may be slightly off-center.
- File must consist of bleeds and all important art and text must be within the safety margin. The more safety margin the better (to avoid close trims or having critical elements from getting cut off).
- Ensure that your PDF is high res and that all images are CMYK at 300 DPI.
- Black text/type should have the following values: C0, M0, Y0, K100.
Larger areas of black coverage should be C:30/M:20/Y:20/K:100 to get a richer black. - Embed or outline all fonts.
- For best colour results, supply a CMYK only file.
Common Questions
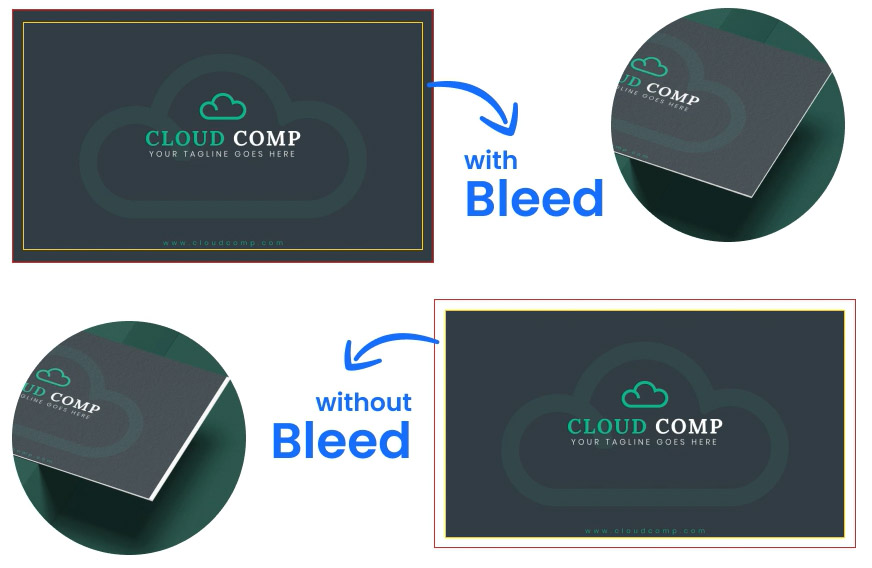
Bleed for common print items
Business Cards, Brochures, Door Hangers, Flyers, Post Cards
• The bleed size is 0.0625′′ (1/16″) in each direction beyond the intended trim edge.
Roll Labels, Stickers
• The bleed size is 0.125″ (1/8″) in each direction beyond the intended trim edge.
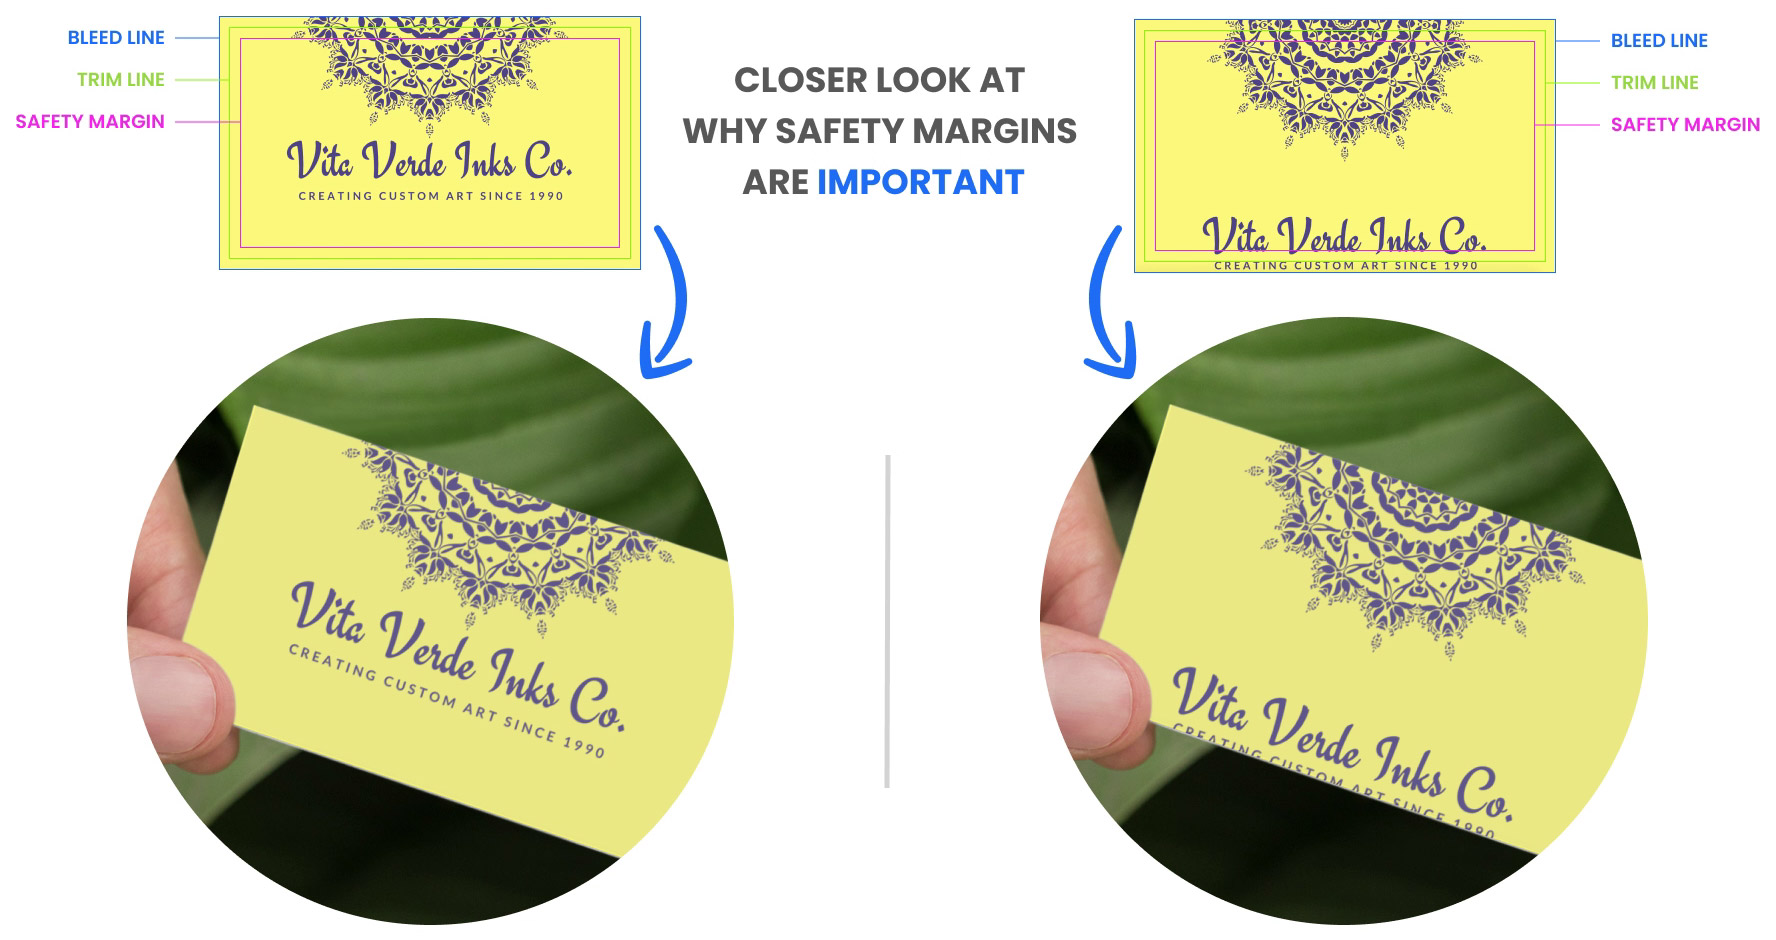
Safety Margins for common print items
Business Cards, Brochures, Door Hangers, Flyers, Post Cards
• The safety margin size is 0.0625′′ (1/16″) in each direction inside the intended trim edge.
Roll Labels, Stickers
• The safety margin size is 0.125″ (1/8″) in each direction inside the intended trim edge.
It would be ideal if you can allow more than the minimum indicated safety margins to avoid close trimming.
Example of border design
If the cutter slips inside the left edge of your border design up to normal tolerances, the left border may end up appearing thin, while the opposite border would end up trimming outside of the intended trim edge by the same amount of deviation (as the cutting has to maintain a specified trim width or height).